The key to a child carrying their own pack isn’t what’s inside, but eliminating the “failure points” of discomfort and disengagement.
- Success depends on comfort engineering: gear that fits perfectly (boots), manages moisture (base layers), and performs when wet (synthetics).
- Empowerment is crucial: A safety plan and a personal whistle transform a child from a passenger into a responsible “Trail Captain.”
Recommendation: Stop thinking of it as a bag of stuff. Your goal is to build an empowering and comfortable “mission kit” they’ll be proud to carry.
It’s a familiar scene for many adventurous families: the trail stretches beautifully ahead, the birds are singing, but you’re sweating under the weight of two rucksacks. Your child’s pack, once filled with enthusiasm and snacks, has been unceremoniously handed over, turning you into the family pack mule. You’ve followed all the advice, packing their favourite treats and a fun compass, yet the result is the same. The hike becomes a chore, and the joy evaporates.
Most guides focus on creating a simple packing list, but a list doesn’t address the root cause of the problem. A child who refuses to carry their pack is rarely being difficult for the sake of it. They are often uncomfortable, disengaged, or feel that the bag is a burden rather than a tool. The real secret to success doesn’t lie in the items you pack, but in how you engineer their entire hiking system for autonomy, comfort, and a sense of purpose.
The shift in perspective is simple but profound: you are not just packing a bag; you are building a “mission kit” for a “Trail Captain.” This approach moves beyond a checklist to focus on the technical details that prevent the common failure points—ill-fitting gear, chilling moisture, and a lack of ownership. By focusing on comfort engineering and empowerment, you can transform their rucksack from a heavy burden into a badge of honour they’ll be excited to wear.
This guide will walk you through the essential components of creating that successful system. We will explore the critical gear choices and strategies that make a tangible difference on the trail, ensuring your child stays comfortable, safe, and motivated from the trailhead to the summit and back.
Summary: The Trail Captain’s Mission Kit
- Why Cheap Boots Ruin the Hike Before You Reach the Summit?
- How to Equip Your Child With a Whistle and Safety Plan?
- Synthetic vs. Down: Which Sleeping Bag Saves the Trip When It Rains?
- The Fabric Mistake That Leads to Hypothermia in Shoulder Seasons
- When to Attempt the Peak: Graduating From Nature Walks to Hikes
- Where to Find Nature in the Concrete Jungle of a Big City?
- Why the Base Layer Is More Important Than the Jacket?
- How to Ensure Daily Outdoor Play Even in Rainy UK Weather?
Why Cheap Boots Ruin the Hike Before You Reach the Summit?
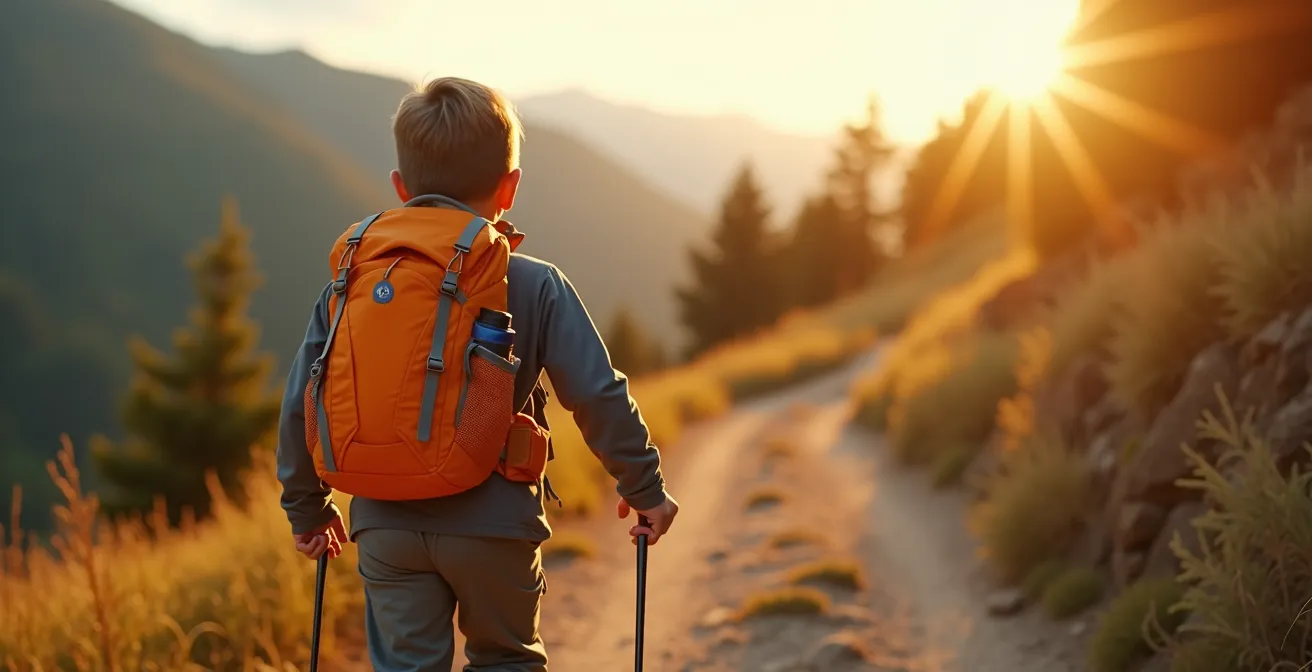
The foundation of a successful hike isn’t the rucksack on your child’s back; it’s the boots on their feet. A poorly packed bag causing discomfort is a problem, but a cheap, ill-fitting boot is an immediate “failure point” that guarantees a miserable experience. Blisters, bruised toes, and a lack of ankle support are the fastest way to end a hike prematurely. While parents often focus on the pack’s weight—and rightly so, as studies show children can carry an average of 15.4% of their body mass before their gait is affected—the direct, painful feedback from bad footwear is far more likely to cause a trailside mutiny.
Investing in proper hiking boots for a child is an investment in their endurance and enjoyment. Unlike trainers or fashion boots, dedicated hiking boots offer three critical features: stiff ankle support to prevent twists on uneven ground, a grippy, lugged outsole for traction on mud and rock, and a waterproof membrane to keep feet dry from puddles and rain. A dry foot is a warm and comfortable foot.
When choosing boots, the fit is non-negotiable. There should be a thumb’s width of space between their longest toe and the end of the boot to allow for foot swell and prevent toes from hitting the front on descents. Have your child wear the socks they’ll hike in and test the boots in the afternoon when feet are slightly larger. A boot that feels great in the store is the first step toward building a positive association with hiking and ensuring they are physically capable of carrying their own mission kit.
How to Equip Your Child With a Whistle and Safety Plan?
Once your child is comfortably shod, the next step in transforming them from a passenger to a crew member is empowerment through responsibility. A simple, loud safety whistle is the most effective tool for this. It’s not just a piece of plastic; it’s a lifeline and a symbol of their role as a “Trail Captain.” Giving a child a whistle without a plan is just giving them a noisemaker. The key is to pair the tool with a clear, rehearsed protocol that gives them confidence and a sense of control in a potentially scary situation.
The plan should be simple and memorable. Teach them that the whistle is for emergencies only, not for play. The standard protocol is easy to learn: if you are lost, stay put and blow six short blasts. Wait one minute, then repeat. The response from a rescuer or another group member is three short blasts. Rehearse this in your back garden or a local park until it becomes second nature. This simple drill replaces panic with a plan of action.
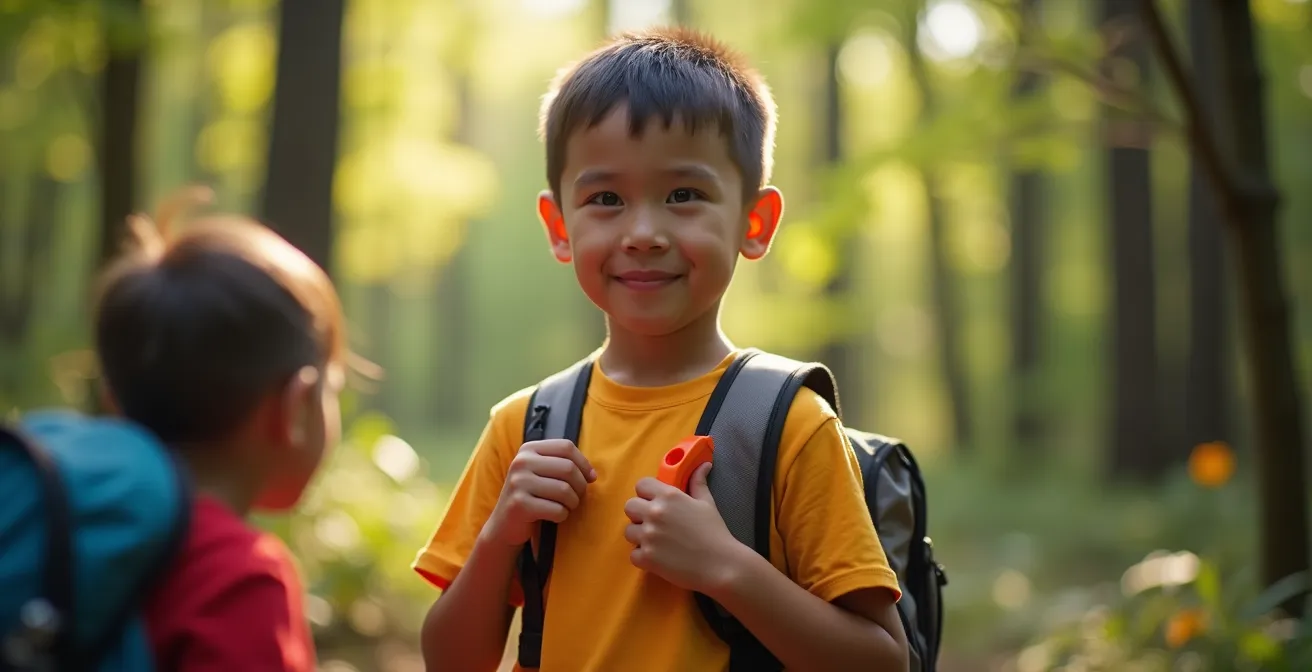
As the “Trail Captain,” their job is to keep their whistle accessible at all times, ideally clipped to a rucksack shoulder strap, not buried inside the pack. This small act of preparation reinforces their role and responsibility for their own safety. The tangible impact of this preparation is not just theoretical; it saves lives.
Case Study: The Snowdon School Expedition
The real-world value of this simple tool was proven in April 2024. As confirmed by reports from ACME Whistles, a school expedition on Snowdon’s northern horseshoe encountered dense cloud, separating two students from their instructor. The group’s pre-rehearsed whistle protocol—a two-blast location call and a three-blast regroup command—allowed the instructor to locate the pair within minutes using sound alone. This incident prompted the outward-bound centre to make whistles a mandatory part of their safety gear for all youth hikes, demonstrating that a simple plan turns a piece of gear into a life-saving system.
As the International Mountain Distress Protocol states, the system is globally recognized. According to discussions on the Camino de Santiago Safety Forum, “The international distress call is six blasts of a whistle, repeated every minute. If heard, the response is three blasts. The series of six blasts should be continued until located.” Teaching your child this protocol equips them with a universal language of safety.
Synthetic vs. Down: Which Sleeping Bag Saves the Trip When It Rains?
For any hike that involves an overnight stay, the sleeping bag is the heart of the comfort system. A cold, sleepless night is a guaranteed way to sour a child on camping forever. When it comes to choosing a child’s sleeping bag, the debate between down and synthetic insulation isn’t just about weight or cost; it’s a critical decision about performance in adverse conditions. While down is lighter and compresses smaller, it has a catastrophic failure point: moisture. For children’s gear, where spills and dampness are inevitable, this makes synthetic the undisputed champion for saving the trip.
Down insulation, made from the fluffy plumage of ducks or geese, loses nearly all of its insulating properties when it gets wet. It clumps together, creating cold spots and can take over 24 hours to dry in the field. Synthetic insulation, made from polyester fibres, is specifically engineered to mimic down’s loft but with a crucial advantage: it retains a significant amount of its warmth even when damp and dries out much faster. For a family camping trip, where a leaky water bottle or a rain-soaked tent is a real possibility, this resilience is non-negotiable.
The following table, based on expert advice like that found in an analysis from outdoor retailer REI, breaks down the key differences that make synthetic a more practical and reliable choice for young campers.
| Feature | Synthetic Bags | Down Bags |
|---|---|---|
| Performance When Wet | Retains 80% warmth when damp | Loses 90% insulation when wet |
| Drying Time | 2-4 hours in field conditions | 24-48 hours without dryer |
| Weight Difference | 400-600g heavier | Lighter but requires waterproof storage |
| Maintenance for Kids | Machine washable, durable | Special washing required |
| Cost Range | $50-150 for quality kids’ bags | $150-300 for comparable warmth |
| Compression | Bulkier when packed | Compresses to half the size |
While a synthetic bag is bulkier and heavier, these are trade-offs worth making for the peace of mind and guaranteed warmth they provide. By choosing synthetic, you are proactively managing risk and ensuring that even if things get a little wet, a warm, safe night’s sleep is still possible.
The Fabric Mistake That Leads to Hypothermia in Shoulder Seasons
One of the most common and dangerous mistakes in dressing children for the outdoors is the “cotton is comfortable” myth. In spring and autumn—the shoulder seasons—when temperatures can swing dramatically, this fabric choice can have serious consequences. Cotton is hydrophilic, meaning it loves water. When it gets wet from sweat, rain, or a slipped foot in a stream, it clings to the skin and actively pulls heat away from the body. This is a critical issue for children, as research indicates children can lose body heat up to 50% faster than adults due to their higher surface-area-to-mass ratio.
In cool, damp conditions, a wet cotton t-shirt or pair of jeans becomes a hypothermia risk. The body has to work overtime to stay warm, burning precious energy and leading to rapid chilling, exhaustion, and a miserable, potentially unsafe, child. This is a core component of “comfort engineering”: avoiding materials that work against you. The solution is to dress your child exclusively in synthetic fabrics (like polyester or nylon) or wool for every layer, from underwear and socks to their shirt and trousers.
These materials are hydrophobic; they repel water and “wick” moisture away from the skin to the fabric’s surface where it can evaporate. This process, known as moisture management, is the key to staying warm when it’s cold and cool when it’s hot. It prevents the clammy, chilling sensation that makes a child want to stop moving and head for home. Before any hike, performing a quick fabric audit of your child’s entire outfit is a crucial safety step.
Your 5-Point Fabric Safety Check
- The Touch Test: If a fabric feels like a soft, everyday cotton t-shirt, it’s a definite no-go for hiking. Technical fabrics often feel smoother or have a slight sheen.
- The Stretch Test: High-performance technical fabrics typically have a four-way stretch. Most cotton garments will only stretch in two directions.
- The Water Drop Test: Sprinkle a few drops of water on the fabric. Technical materials will cause the water to bead up on the surface, while cotton will absorb it almost instantly, darkening the fabric.
- Check ALL Layers: Don’t forget the hidden culprits. Scan the labels on socks, underwear, and base layer tops for any cotton content and replace them with wool or synthetic alternatives.
- Pack Dry Backups: Always carry a complete, trail-ready backup outfit (synthetic top, bottoms, and socks) in a waterproof dry sack inside their mission kit.
When to Attempt the Peak: Graduating From Nature Walks to Hikes
Handing a child a fully loaded rucksack and pointing them at a mountain is a recipe for failure. The process of becoming a “Trail Captain” who can carry their own gear is a gradual one, built on a foundation of positive experiences and progressively challenging adventures. Attempting a “peak” too soon can lead to burnout and a lasting aversion to hiking. The key is to graduate from simple nature walks to more strenuous hikes using a tiered approach that builds stamina, confidence, and gear familiarity over time.
Start small and make it fun. The initial goal isn’t distance or elevation; it’s simply to foster a love for being outdoors. A walk in a local park where the child carries only their own water bottle and a favourite snack is a perfect first step. This introduces the concept of carrying something without it being a burden. As their enthusiasm and physical ability grow, you can slowly increase the duration of the walk, the difficulty of the terrain, and the weight in their pack.
A structured progression, like the “Adventure Tier System,” provides a clear and achievable path forward. This framework helps you match the challenge to your child’s current ability, ensuring each outing is a success that builds momentum for the next one. It’s about celebrating milestones, whether it’s completing their first hilly trail or successfully carrying their own safety gear for an entire hike.
Here is a practical guide to this progression:
- Tier 1 ‘Park Explorer’: Focus on short, 1-hour walks on flat, predictable terrain. The child carries only a water bottle and a snack, establishing the habit.
- Tier 2 ‘Trail Apprentice’: Progress to 90-minute hikes with gentle hills. The pack can now weigh up to 5% of their body weight and include basics like a rain jacket.
- Tier 3 ‘Mountain Goat’: Tackle 2-3 hour hikes with moderate elevation gain. The pack weight can increase to 10% of their body weight, including their full safety kit.
- Tier 4 ‘Peak Challenger’: Embark on half-day hikes over varied terrain. At this stage, the child should be able to manage their own pack, pace, and hydration.
- Tier 5 ‘Backpacking Ready’: The child demonstrates overnight capability, carrying their own personal items and a portion of the shared gear, like their sleeping bag.
Where to Find Nature in the Concrete Jungle of a Big City?
The idea of training for a mountain expedition can feel daunting if you live in a sprawling metropolis. However, the concrete jungle itself can be the perfect training ground for a future “Trail Captain.” The principles of carrying a mission kit, practicing navigation, and building stamina are not exclusive to wild landscapes. Urban environments offer a wealth of accessible opportunities to build the skills and fitness needed for bigger adventures, turning a city walk into a valuable training session.
Treating urban explorations as “training hikes” is a powerful mindset shift. Have your child wear their hiking boots and carry their mission kit on a walk along a river path, through a large city park, or even on a tour of local street art. The goal is consistency and familiarity. They get used to the feel of the pack and the routine of managing their own water and snacks. These frequent, low-stakes outings build the physical and mental muscle required for more demanding trails, making the transition to the mountains feel natural rather than abrupt.
This approach has proven highly effective for families. Urban hiking programs have seen families discover incredible nature right on their doorstep. One family in a London-based program documented finding 47 species of birds in city parks over six months. They treated walks along the Thames Path as serious training hikes, with the children carrying the same gear they would later use in the Lake District. This consistent practice in an accessible setting built the confidence and stamina that led directly to successful mountain expeditions. It proves that you don’t need to live near a national park to raise a competent hiker.
Why the Base Layer Is More Important Than the Jacket?
When dressing a child for a hike, parents often fixate on the outermost layer—the waterproof jacket. While a good jacket is essential for protection from wind and rain, it’s the unseen base layer, the fabric sitting directly against the skin, that does the real work of “comfort engineering.” This is the engine of your child’s personal climate control system. A mistake here can undermine the performance of every other layer you put on top of it. As many outdoor educators know, improper base layers are a primary source of discomfort on the trail.
The sole purpose of a base layer is moisture management. As your child hikes, they sweat. A good base layer, made of merino wool or a synthetic material, will pull that sweat away from their skin and push it outward, a process called wicking. This keeps their skin dry, which in turn allows them to stay warm when they stop for a break and cool when they are working hard. A cotton base layer does the exact opposite. It absorbs sweat like a sponge, leaving them with a cold, clammy layer of fabric against their skin that rapidly leeches away body heat.
As the Michigan Outdoor Education Program advises in a guide from Discovering Anew:
Choose athletic clothing made of polyester, nylon, bamboo or wool. Ideally avoid cotton and jean materials, which hold onto moisture and leaves you chilled in cold weather and sweaty in hot temperatures.
– Michigan Outdoor Education Program, Discovering Anew – Hiking with Kids Guide
Investing in a high-quality, non-cotton base layer is one of the most impactful gear decisions you can make. It’s the difference between a child who stays comfortable and energetic all day and one who becomes cold, whiny, and wants to go home after the first big hill. It is the invisible hero of the layering system and the true key to all-day comfort.
Key Takeaways
- Comfort Is King: The right boots and a non-cotton base layer are the non-negotiable foundations of a happy hiker. Discomfort is the number one reason kids give up.
- Empowerment Over Packing: A safety plan and a personal whistle transform a child into a responsible “Trail Captain,” giving them ownership over their adventure.
- Prepare for System Failure: Always choose gear that performs when things go wrong. Synthetic sleeping bags and non-cotton fabrics provide a crucial safety margin against rain and sweat.
How to Ensure Daily Outdoor Play Even in Rainy UK Weather?
Especially in climates like the UK, “bad weather” can feel like a constant barrier to getting outside. However, the old adage “there’s no such thing as bad weather, only bad gear” is the absolute truth when it comes to fostering a love of the outdoors in children. Waiting for a perfect, sunny day means missing out on countless opportunities for adventure. The key is to reframe rain not as an obstacle, but as a different kind of fun, and that starts with having a dedicated “Rainy Day Adventure Kit” ready to go at a moment’s notice.
This removes the friction of getting ready. Instead of a scramble to find mismatched wellies and a lost glove, you have a pre-packed tote or box by the door. This kit should contain everything needed to make a rainy walk an exciting sensory experience rather than a damp slog. Full waterproofs are the start, but adding tools for exploration makes all the difference. A magnifying glass to inspect raindrops on a leaf, or clear containers for “potion making” with puddle water, turns a simple walk into a scientific expedition.
The psychological impact of being prepared is huge, both for you and your child. A thermos of hot chocolate as a “warm-up station” reward provides a tangible goal and a comforting ritual. A Manchester parent who committed to daily rain walks shared their success:
We started with just 15 minutes during a week of solid rain. My son complained initially, but once he jumped in his first puddle wearing proper waterproofs, everything changed. Now he asks to go out especially when it’s raining. We’ve been out every single day for six months, and his immune system has never been stronger. The key was having the right gear ready and making rain an adventure, not an obstacle.
– A Manchester Parent, Get Out With The Kids
By embracing the rain and equipping your family for it, you teach a valuable lesson in resilience. It shows that adventure isn’t dependent on perfect conditions, but on a positive attitude and the right preparation. Every rainy day becomes another chance to build your Trail Captain’s confidence and love for the wild.
To put these principles into action, the next step is to audit your child’s current gear using these insights. Begin building their first true “mission kit” and plan your next family adventure, rain or shine.
Frequently Asked Questions about Hiking with Kids
What urban features work as navigation practice?
City parks with numbered trails, riverside paths with distance markers, and urban orienteering courses offer safe spaces for children to practice map reading and distance estimation with their hiking packs.
How do you make concrete interesting for nature-loving kids?
Create urban wildlife bingo cards, document street art like trail markers, and treat storm drains as ‘urban streams’ to follow. Pack the same exploration tools (magnifying glass, notebook) in their city hiking pack.