In summary:
- Treat layering as a modular thermal system, not just a pile of clothes. The base layer is your most critical asset.
- Empower your child to self-regulate by teaching them to add or remove accessible layers like gilets and fleeces.
- Reframe the outer coat as a “disposable shell” for specific threats (rain/wind), reducing the stress of it being misplaced during play.
- Prioritize moisture-wicking fabrics like wool or synthetics next to the skin to prevent the “sweaty-then-cold” cycle.
- A prepared morning routine with clothes laid out in order is the key to a quick and stress-free exit.
That familiar UK morning scene: the weather app shows sun, cloud, and a 60% chance of rain, all before home time. Your immediate thought isn’t about the weather, but about the logistical nightmare of dressing your child. You’re haunted by the ghost of jackets past, left on pegs, abandoned on the playground, or crammed into a lost-property abyss. The common advice is to “layer up” or “buy a good waterproof,” but this often leads to bulky, impractical outfits that kids despise. They get hot running around, take everything off, and then get cold and sick. The problem isn’t just the clothes; it’s the system.
What if the solution to the lost coat problem is to accept that the coat isn’t the most important piece of the puzzle? The secret lies in shifting your mindset from “dressing them warmly” to “building a modular, self-managed thermal system.” This approach, borrowed from outdoor enthusiasts, focuses on creating an adaptive cocoon of warmth that your child can control themselves. It de-emphasizes the single, expensive outer jacket and elevates the smarter, more versatile layers beneath it. This guide will walk you through the logistics of this system, transforming your morning routine and ending the cycle of sweaty, shivery kids and lost outerwear.
To help you master this new approach, this article breaks down the complete logistical strategy. From understanding the science of base layers to choosing the right materials and organizing your morning for a swift, successful departure, you’ll find everything you need to build a resilient layering system for your child.
Summary: How to Layer Kids for School Without Them Losing Their Coats?
- Why the Base Layer Is More Important Than the Jacket?
- How to Pick Fleece vs. Wool for the Active School Run?
- Gilet vs. Full Coat: Which Allows Better Movement for Play?
- The “Just in Case” Mistake That Makes Kids Sweaty and Sick
- In What Order to Layer for Quick Morning Exits?
- How to Layer Kids for Winter Play Without Overheating Them?
- Why Cotton Is Better Than Polyester for Sensitive Skin Despite Drying Slower?
- How to Choose a Raincoat That Survives a 20-Minute Walk in Downpour?
Why the Base Layer Is More Important Than the Jacket?
The foundation of any effective layering strategy isn’t the big, bulky coat; it’s the piece of clothing worn directly against the skin. This is the engine of your child’s thermal system. Its primary job isn’t just to provide warmth, but to manage moisture by wicking sweat away from the body. This is especially crucial for children. Why? Because metabolic rates for kids through teens are higher than for most adults. They are little furnaces, generating significant heat, especially when active during playtime. A non-breathable base layer traps this heat and moisture, leading to a damp, clammy feeling that quickly turns into a chill the moment they stop moving.
A quality base layer made from merino wool or a high-tech synthetic fabric creates a dry, warm microclimate. It pulls perspiration away from the skin, allowing it to evaporate or pass into the next layer. This single piece of clothing can dramatically alter a child’s comfort and willingness to be outdoors.
Case Study: The Forest School Transformation
Consider the experience of a child named “Little G” at her Forest School, as documented by Mountain Mom and Tots. Initially, she complained constantly of the cold during outdoor sessions. The game-changer wasn’t a thicker jacket, but a set of 100% Merino Wool base layers. After the switch, her entire attitude towards winter play transformed. She was warmer, stayed outside longer without complaint, and even initiated getting her snow gear on to build a fort. This demonstrates that investing in the layer closest to the skin provides the highest return in terms of comfort and endurance.
Therefore, when budgeting for winter gear, it’s a strategic mistake to spend hundreds on a coat while skimping on a £15 base layer. The base layer is the workhorse; the jacket is just the final shield. Getting the foundation right makes every other layer more effective.
With the foundation secured, the next decision involves the insulation layer that provides the bulk of the warmth.
How to Pick Fleece vs. Wool for the Active School Run?
The mid-layer is the primary insulator in your modular system. Its job is to trap air and retain the body heat generated by your child. For the active school day, the two most practical and popular contenders for this role are fleece and wool. While both are effective, they have distinct properties that make them suitable for different needs, budgets, and children. Fleece is a synthetic workhorse, known for its durability and ease of care, while wool, particularly merino, is a natural performance fiber with unique thermal-regulating properties.
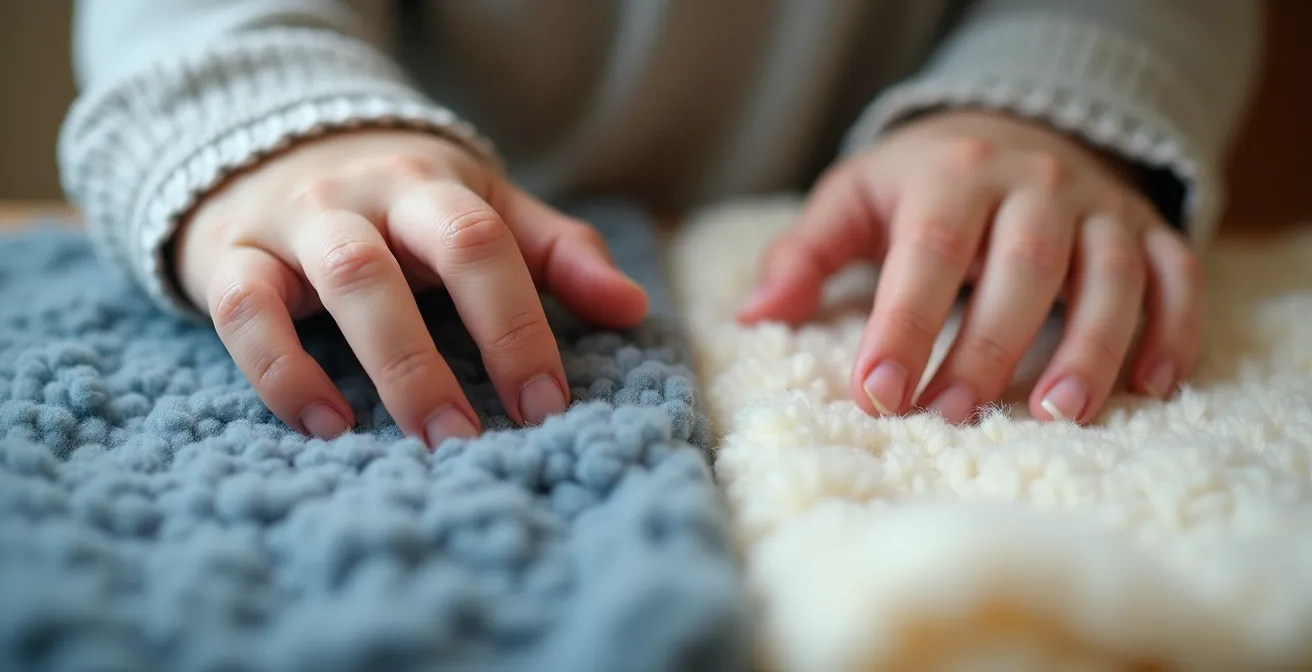
The choice often comes down to a balance of performance, cost, and maintenance. A child who runs hot might benefit more from wool’s superior breathability, while a rough-and-tumble playground enthusiast might be better served by a rugged, quick-drying fleece. Below is a direct comparison to help you make a logistical choice for your child’s specific needs.
| Feature | Fleece | Wool |
|---|---|---|
| Warmth | Lightweight material that traps body heat and sustains warmth | Retains warmth, wicks moisture and has anti-odor properties. Wool is the go-to for all seasons! |
| Care Requirements | Machine washable, durable, quick-drying | Some require gentle washing, but modern merino is often machine washable |
| Cost | Budget-friendly option | Higher initial investment |
| Best Use | Mid-layer for active play | Base layer for all-day comfort |
When considering cost, it’s important to think long-term. As the Boston Outdoor Preschool Network points out in their gear guide, wool’s natural anti-odor properties mean it requires less frequent washing, which can be a significant logistical advantage for busy parents.
Wool is not inexpensive; however, it does not need to be washed as frequently (say once per week), so your child can in theory get away with owning just one quality base layer set.
– Boston Outdoor Preschool Network, Outdoor Gear Guide for New England Winter
Once you’ve chosen your insulation, the next question is how to package it for maximum mobility and practicality.
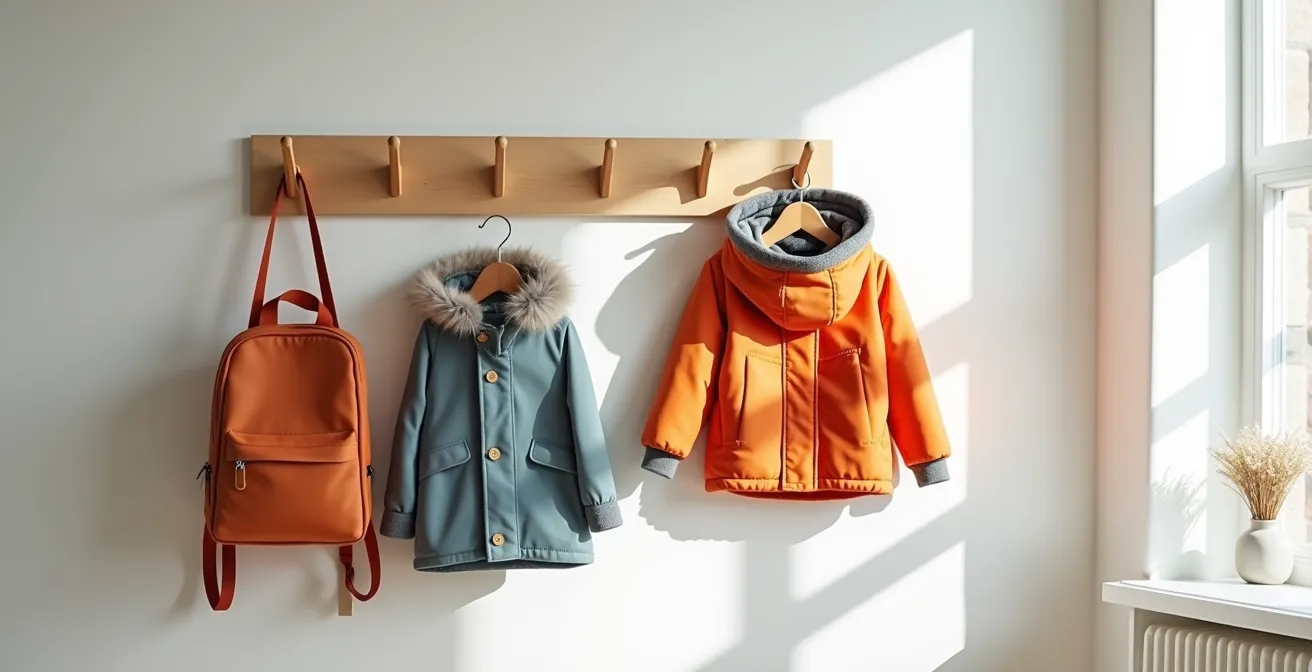
Gilet vs. Full Coat: Which Allows Better Movement for Play?
The battle for the outer layer often pits the traditional full coat against the more agile gilet (or body warmer). This choice is central to our strategy of creating a self-managed, modular system. A full coat offers maximum protection but often at the cost of mobility and comfort. For a child, a bulky coat can feel restrictive, making it the first thing to be discarded during a vigorous game of tag. This inconvenience is a primary reason outerwear gets lost; as a survey of teenagers reveals, if an item is constantly being taken off, its chances of being forgotten skyrocket.
A gilet, on the other hand, offers a brilliant compromise. It provides core warmth by insulating the torso, where the body’s vital organs are located, while leaving the arms completely free. This has two major benefits for a school child:
- Unrestricted Movement: Climbing, swinging, drawing, and writing are all easier without puffy sleeves getting in the way. This means the child is more likely to keep the gilet on, even indoors or during active play.
- Better Thermoregulation: By leaving the arms exposed, a gilet allows excess heat to dissipate more easily, reducing the risk of overheating. It’s a perfect “on-all-day” layer for the variable temperatures of a UK school day.
The ideal system often involves both. A fleece plus a gilet can be the default outfit for most of the day, offering excellent warmth and freedom. The full coat is then reserved as a specialist tool, brought out only for the walk to and from school in genuinely cold or wet weather. By reframing the coat as a temporary, task-specific shell rather than a permanent fixture, you reduce its perceived importance and, paradoxically, increase the chance of it coming home.
This approach helps avoid one of the most common parental mistakes in layering: the “just in case” fallacy.
The “Just in Case” Mistake That Makes Kids Sweaty and Sick
Every parent has done it: a glance at a chilly weather forecast prompts us to add “just one more layer, just in case.” While well-intentioned, this is often the single biggest mistake in layering children. We project our own adult sensitivity to cold onto our kids, forgetting that their higher metabolic rates make them feel warmer. Over-layering is not a harmless precaution; it actively works against the goal of keeping them comfortable and healthy. It sets off a dangerous chain reaction that can make a child colder than if they had worn less.
The mechanism is simple and insidious. The Best Start Organization explains this process clearly, highlighting the counterintuitive result of our best intentions.
Putting too many layers on your child can cause them to overheat and trigger their body’s cool-down mechanism: Sweating. Sweating means moisture, which means their clothes become damp or wet -and with chilly wind or cold temperatures, those extra layers can actually cause your child to become colder.
– Best Start Organization, Layer up – how to dress your child for the cold
This is the “sweaty-then-sick” cycle. A child bundled in too many layers runs around the playground, their body generates immense heat, and they begin to sweat profusely under their clothes. When playtime ends and they sit down in a cool classroom or face a chilly breeze on the walk home, that trapped moisture rapidly cools, sucking warmth away from their body. The very layers intended to protect them become cold, damp compresses against their skin. The solution is not more layers, but smarter, more breathable layers and, crucially, trusting your child’s ability to self-regulate within a well-designed modular system.
To avoid this, we need a system that’s not just smart in theory but also efficient in the morning chaos.
In What Order to Layer for Quick Morning Exits?
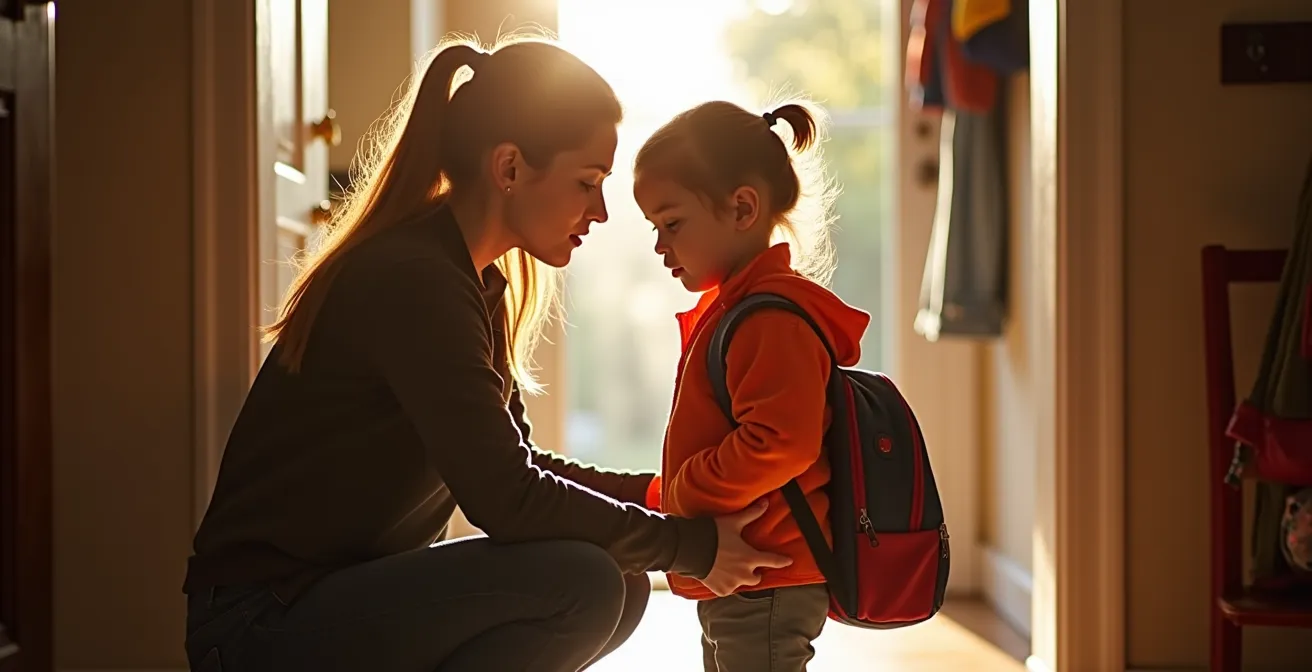
A brilliant layering theory is useless if you can’t execute it during the morning rush. The key to a quick and successful exit is preparation and a clear, logical order of operations. Having a system eliminates decision fatigue and frantic searching for a missing glove. The goal is to get your child dressed in their “indoor” layers and save the final, bulky outerwear for the very last moment before stepping out the door. This prevents overheating in the house or in the car.
The most effective strategy starts the night before. Lay out the complete outfit in stacking order so there are no choices to be made in the morning. This includes base layers, mid-layers, trousers, socks, and having accessories ready to go. A particularly crucial safety consideration is how bulky jackets interfere with car seat harnesses. For this reason alone, the outer coat should always be the absolute last thing to be put on.
- Night Before: Lay out all clothes. Base layer, mid-layer (fleece/jumper), and trousers. Place accessories like hats and gloves inside the coat pockets.
- Morning Routine: Child gets dressed in all indoor layers (base and mid). They should eat breakfast and brush their teeth in this comfortable attire.
- At the Door: This is where the final sequence happens. Snow pants (if needed) and boots go on first. The outer jacket goes on last. A fun and effective method for younger children is the “coat flip,” where they lay the coat on the floor, put their arms in, and flip it over their head.
This systematic approach also addresses a major safety concern. As safety experts warn that most winter jackets and snow suits are not safe for car seats, putting the coat on just before exiting the car at school becomes a non-negotiable safety habit, not just a thermal one. This reinforces the coat’s role as a temporary, transitional shell.
Once at school, the same principles of thermoregulation apply, especially during active play.
How to Layer Kids for Winter Play Without Overheating Them?
The playground is where layering systems are truly put to the test. A child’s activity level can shift from zero to one hundred in seconds, and their internal temperature will follow suit. The key to preventing overheating during winter play is proactive thermoregulation. This means making adjustments *before* the child becomes a sweaty mess, not after. It requires a slight shift in thinking, moving away from “are they warm enough now?” to “will they be too warm in five minutes?”
A fantastic pro-tip from outdoor educators at Jan & Jul is to start slightly cool. If a child begins an activity feeling perfectly warm, they are almost guaranteed to overheat once they get moving. It’s better to have them feel a little chilly for the first minute or two, knowing their body heat will quickly build and create the perfect level of comfort.
If your kid heads out to the local pond or the playground, remove a layer before they start the activity. Even if they’re a little cold at first, this will help to avoid their clothing getting damp with sweat, so they stay warmer for longer. Then add that layer back once they’re finished playing. Remember: sweat makes kids colder!
– Jan & Jul, How to Dress Kids for Winter: A Guide to Layering
This is where teaching your child self-regulation becomes a powerful tool. Encourage them to notice the signs of overheating, like flushed cheeks or a damp feeling at their neckline. Give them easy-to-manage layers, like a zip-up fleece or a gilet, that they can adjust themselves. Having a system in place empowers them to take control of their own comfort. Here is a practical checklist for managing temperature during active play.
Your Child’s Thermoregulation Checklist
- Start slightly cool: Remind them their body heat will build within minutes of activity.
- Use jacket vents first: Teach them to use pit-zips or front zippers before removing a whole layer.
- Remove accessories for quick cooling: Taking off a hat or gloves is the fastest way to vent excess heat.
- Watch for overheating signs: Look for flushed cheeks and check for dampness at the neckline.
- Pack an accessible mid-layer: A lightweight fleece or gilet that can be easily added or removed is essential.
While we’ve focused on performance fabrics, we must address the most common material in a child’s wardrobe: cotton.
Why Cotton Is Better Than Polyester for Sensitive Skin Despite Drying Slower?
In the world of outdoor gear, “cotton is rotten” is a common mantra. This is because when cotton gets wet from sweat or rain, it loses its insulating properties and takes a very long time to dry, actively pulling heat from the body. For a base layer during intense activity, it’s a poor choice. However, in the real world of school uniforms and everyday t-shirts, cotton is unavoidable. Furthermore, for children with sensitive skin or eczema, the softness and breathability of natural cotton can be far less irritating than many synthetic polyester fabrics.
The key is not to ban cotton, but to manage it strategically. A standard-issue cotton school polo shirt is perfectly acceptable as part of a modular system, provided you understand its limitations. As the experts at Muddy Faces point out, the responsibility falls on the adult to manage the situation.
Most children will wear school shirts, cotton t-shirts or long sleeve t-shirts and maybe vests. Cotton is an effective base layer unless it gets wet. Group leaders, therefore, need to be aware of children becoming too hot and sweaty, so leaders can prevent the individual child becoming damp and getting cold as the moisture evaporates once the activity stops.
– Muddy Faces, Layers explained – Outdoor clothing guide
If a cotton shirt is the non-negotiable first layer, the layers on top must be exceptionally good at their jobs. A high-quality merino or fleece mid-layer can help pull some moisture away, and teaching the child to remove that mid-layer during active play becomes even more critical to prevent the cotton from getting saturated. For children without sensitive skin, modern fabric blends offer the best of both worlds. Brands like namuk advocate for breathable merino wool or functional synthetic sports clothing as ideal base layers that wick sweat effectively without the scratchiness of traditional wool, providing a superior alternative to cotton when possible.
This brings us to the final, outermost layer: the one designed to face the elements head-on.
Key takeaways
- Rethink the system: The base layer that manages moisture is more critical to daily comfort than the expensive outer coat.
- Empower your child: Teach them to use zips, vents, and easily removable mid-layers (like a gilet) to manage their own temperature.
- The coat is a tool, not a uniform: Use the bulky outer coat as a temporary “shell” for specific threats like heavy rain or the walk to school, not as an all-day layer.
How to Choose a Raincoat That Survives a 20-Minute Walk in Downpour?
The final piece of your modular system is the outer shell. Its role is highly specific: to act as an impenetrable barrier against wind and rain. For a 20-minute walk to school in a British downpour, “water-resistant” is not enough. You need a truly waterproof jacket. The difference is crucial. Water-resistant fabrics will shed a light shower for a short time but will quickly become saturated in sustained rain, leaving the layers underneath damp and useless.
A truly effective raincoat has a few key features that go beyond just the fabric. It’s a purpose-built tool designed for a specific job. When choosing one, look for the technical details that separate a true shell from a fashion jacket.
- Taped or Welded Seams: This is non-negotiable. A jacket can be made of the most waterproof fabric in the world, but if the tiny holes from the sewing needle aren’t sealed, water will get in. Look for a mention of “taped,” “welded,” or “sealed” seams.
- Functional Hood: The hood should be large enough to cover the child’s head but have adjustments so it turns with their head, not blocking their peripheral vision when they look left and right to cross a road.
- Ventilation: A completely waterproof jacket can trap sweat inside. Look for features like underarm zippers (“pit zips”) or a mesh-lined back flap to allow condensation to escape.
- Companion Piece: For ultimate protection, consider the jacket and waterproof trousers as a single unit. A coat alone won’t stop rain from soaking their legs on the walk to school.
Investing in a genuinely good waterproof shell is a matter of health and comfort. However, it’s also important to acknowledge that for many families, this is a significant financial challenge. As according to nonprofit research, an estimated two out of every five children are “clothing insecure” and may lack access to adequate winter gear like a proper coat. This statistic underscores the importance of choosing durable, effective, and long-lasting pieces when possible and highlights the broader societal context in which these daily parental decisions are made.
Now, you are equipped with the strategy and logistical knowledge of an outdoor guide. You can build a layering system that is not just a collection of clothes, but an adaptive, comfortable, and manageable solution for your child, keeping them warm, dry, and finally, bringing that coat home.